Wednesday, September 12, 2012

more colour changing

Continuing from my previous instructions on colouring a photo by creating a new layer for each different colour (and labelling each layer) I will show you how to change the colours even after you have moved on to a different layer.
I decided that I would see what different colours would look like on the baby dress.
In the layers palette I first clicked on the dress layer
Now click on Adjust>Adjust Color> Adjust Hue/Saturation.
When the Hue and Saturation box opens slide the HUE slider from side to side to see the different colours that are possible. When you find one you like, stop sliding and click "OK"
Have another try - go to Adjus>Adjust Color> Adjust Hue/Saturation. This time, slide the other sliders, the Saturation and the Lightness sliders to see what you can create.
Once you have completed your picture to your satisfaction, flatten the image - Go to the menu bar and click on Layers>Flatten Image (right at the bottom of the drop down box.
Save as a jpg image - if the picture is not flattened it can be saved with all its layers. It will be saved as a .psd image file.

Once it is flattened you will need to change the "Format" to "JPEG" or it will again be saved as a .psd image and email recipients will not be able to see it.
Have fun with your colour changing.
AJ

Monday, September 10, 2012

Bringing an old photo to life

Today I had a little time to play on my laptop. I have always been a Photoshop (CS) user but since so many people use Photoshop Elements these days I have been making myself work with this very handy photo editing program so that I can offer help to those that need it.
So finding a delightful photo taken in 1944 I decided to have a try at bringing it into the modern day - very few people could afford colour photography back then so black and grey it was! Once I started on the transformation I started to take snapshots of the different stages. This story would be far too long and very boring if I gave you each and every step that was taken so you will need to "read between the lines" occasionally. I don't think you will get lost.
The first thing that should be done is to remove bad spots and scratches. The magic healing brush does a great job of that - make the brush size  just a fraction larger than the black or white spot and simply "dab" it with the brush. Take care when dragging the brush along scratches, that sometimes makes a worse mess than is there to start with. Major scratches may need you to use the Clone/Stamp tool. I cheated . . . I only took away the spots on the skin and the little dress, I felt that the child was the important part of the picture and no one would notice what was in the background.
Here is the original photograph.
Now for the steps on how to add the colour.
To begin with you need to change the mode from greyscale to RGB.  Click on Image>Mode>RGB Color. If this is not done you will not be able to add any colours at all.
The colouring can be done in any order. for each new colour create a new blank layer and paint onto that. Never paint directly onto the photograph.
With this photograph I clicked first on the "Add new layer" button on the extreme left of the Layers Palette (In CS5 this button is on the extreme right)
The painting is done on the layer, not on the photo.Click on the foreground colour box (the top one of the two main colours at the bottom of the tool bar) and put these numbers in 
R . . . . 227    G . . . . 183  B . . . . 151 and click OK
You do not need to remember these numbers, I have given them to you as a quick start so that you know for the future where the colour is sampled for skin colour. At this stage it does not matter that the colour is too pink or too yellow, I will show you how to get it right.
Select a brush tool and select the brush shape that has a soft edge, not a smooth edge.
In the Layers palette change the blending mode from "Normal" to "Color".
Paint over the face, hands and legs - if there are more than one person in the picture, only do the skin of one person.
Zoom in very close and take your paint colour to the very edges, use the eraser to clean up any over spill.
The skin has been coloured but it may be an un-natural colour so we now fix it!
Click on Enhance>Adjust color>Adjust color for skin tone. In the pop up box that appears you can work real magic. Click the eye dropper on the skin - not the deep shadow or even the brightest part, there will be an automatic change to the colouring. You may wish to add a little more yellow or change the white balance - experiment with the sliders. You will only see a change when you release the mouse button so make only little changes.
Once you have the skin correct you can move to the next part to be coloured.
Add another layer by clicking on the Add new layer button and, once again, change the blending mode to "Color".
It is sensible to name each of the layers. Click twice on the writing and you will be able to type over the highlighted letter.
You will end up with lots and lots of layers.
With each of the layers renamed it is possible to go back and change things or paint in little bits that had been missed.
Here is the end result of my efforts with this photo.
Under all the layers is the black and white photograph, the colours are transparent and allow the shading and textures to show through. We have a wonderful program to work wonders on our old photographs!
AJ


Saturday, August 11, 2012

Visit to the coast itself

Although my home is only a handful of kilometers from the sea I vary rarely go to see it. The proximity to the coast gives us a wonderful climate year round so I am fully aware of the sea - but I tend to look more at the country places, the mountains and the farming areas. But that changed yesterday, There was word of high winds and big seas on the way and my eldest son mentioned that he spotted whales breaching while he was driving home from work. So with a sunny afternoon and a couple of hours to spare I dragged my ever willing husband into the car along with my camera, tripod and two lenses and off we went to Tweed Heads.
From the headland we could see the splash as whales hit the surface of the sea - but they were so far away that we couldn't actually see the whales. Into the car we clambered and off we drove to Fingal Head. This is on the other side of the Tweed River from where we had been standing, and, since the opening of the wide and fast highway to Byron Bay, had managed to be "cut off" from too many travellers. The short drive out to Fingal Headland is past riverside homes that are prone to get their feet wet in times of exceptionally high tides and full river flow. It is a pleasant drive - and we seemed to be the only car on the road. As expected, when we arrived at the little carpark we discovered that we were not the only car on the road! Typical!
The walk through the coastal woodland over loose sand got our blood flowing faster and we emerged at the bright white painted lighthouse.

There were not too many people on the lawns after all, we could see a few family groups but they were scattered far and wide. Following the direction they were looking we too could see the activity way out on the Pacific Ocean. There must have been a group of three or four whales in one place and another pair in another. The sea was positively churning with their activity! Again, much too far away for either of my lenses but interesting enough for us to sit down on the lawn and watch them.
Spotting a sea eagle I changed lenses but that was the only sighting of it, I never did get a chance to take a photo! However with the 55-300mm lens I was ready when a pair of dolphin cruised by.
The sea was a most glorious aqua blue and the sky a rich cobalt. Such a perfect day to be out here. The sea was not rough and the threatened strong winds did not even rustle the leaves. It was calm! Since we needed to have an early evening meal we didn't stay too long so made our way back along the boardwalk to the sandy track that lead us back to the car.
In an area that is a mecca for tourists from all over the country and the world it is amazing that we can find places like this that are free of crowds and have so much to offer.
AJ

Friday, August 10, 2012

Does the camera lie?

Sometimes a shot requires a much better background for it to be a satisfying shot. Take this one for instance.
With a little work this same bird looks more at home here.
To make these changes required only a few easily learned processes
  1. Selection
  2. Clean up using a mask
  3. Cloning
  4. Selecting layers to be worked.
Selection can be done in so many ways - my preferred method is with the Lasso tool.
I made a rough selection of the bird and then pressed Ctrl+J which is the short-cut for "Copy and Paste".
To make the cleaning up of the selection really clear I then filled the background with a colour - If I had used either black or white I would have run into problems with finding the edges but with a colour I had no difficulties at all.
I then clicked on the bird layer and created a mask (small button on the Layers Palette) and with a soft edged brush and black as the foreground colour I painted away the wall and back of the chair that were still showing around the edges of the bird.
Then I created a background.
Here is the original shot I took for the background.
The stick looks good - but it is too high up in the picture. the left hand side of the picture is too bright and draws the eye over to see the fence and post in the background. Two things to fix up here. The stick first.
Just as with the bird I drew around the stick with the lasso tool and Ctrl+J to make a copy. In the Layers palette (shown on the right of this picture) you can see the stick as a layer - but looking at the picture you cannot see any difference at all.
With the move tool I dragged the stick closer to the bottom of the picture. Again a mask was created and the surrounds to the stick cleaned away. I did not want the original stick to be still in the picture so I then Clicked on the background and used the Stamp or Clone tool to sample in different places and replace the stick with leaves.
Another image was opened and part of that was selected to be used to fill the light area of background behind the stick.
To select this a rectangular selection tool was used and I clicked "Copy" (Ctrl+C)
I then opened the background picture I was working on, clicked on the background (in the Layers Palette) and clicked "Paste" (Ctrl+V)
The bird picture was opened again, the layer highlighted and selected (Ctrl+A). Double click on the background to open it again and Paste the bird and put him on the branch.
It all sounds mighty complicated but look at the list of processes that were used - only four!
So does the camera lie? Did I see a bird on the back of a chair on my veranda or did I see it in the garden?
AJ

Tuesday, August 7, 2012

Beauty lost

My Sunday drive took me past a wonderful old homestead. Years ago in the company of several other video enthusiasts plus a couple of actors in period costume, I visited this beautiful old house. It was open to the public and completely furnished as it had been left. At the time we were told that two sisters lived here up to the ends of their lives. After that the place was given a complete new coat of paint (It used to look like a haunted house!) and the interior cleaned up and made presentable. The caretakers of the place provided teas and scones in the large kitchen. The garden too had been scoured of rubbish and made suitable for public scrutiny. So you see, I have vivid memories of the place.

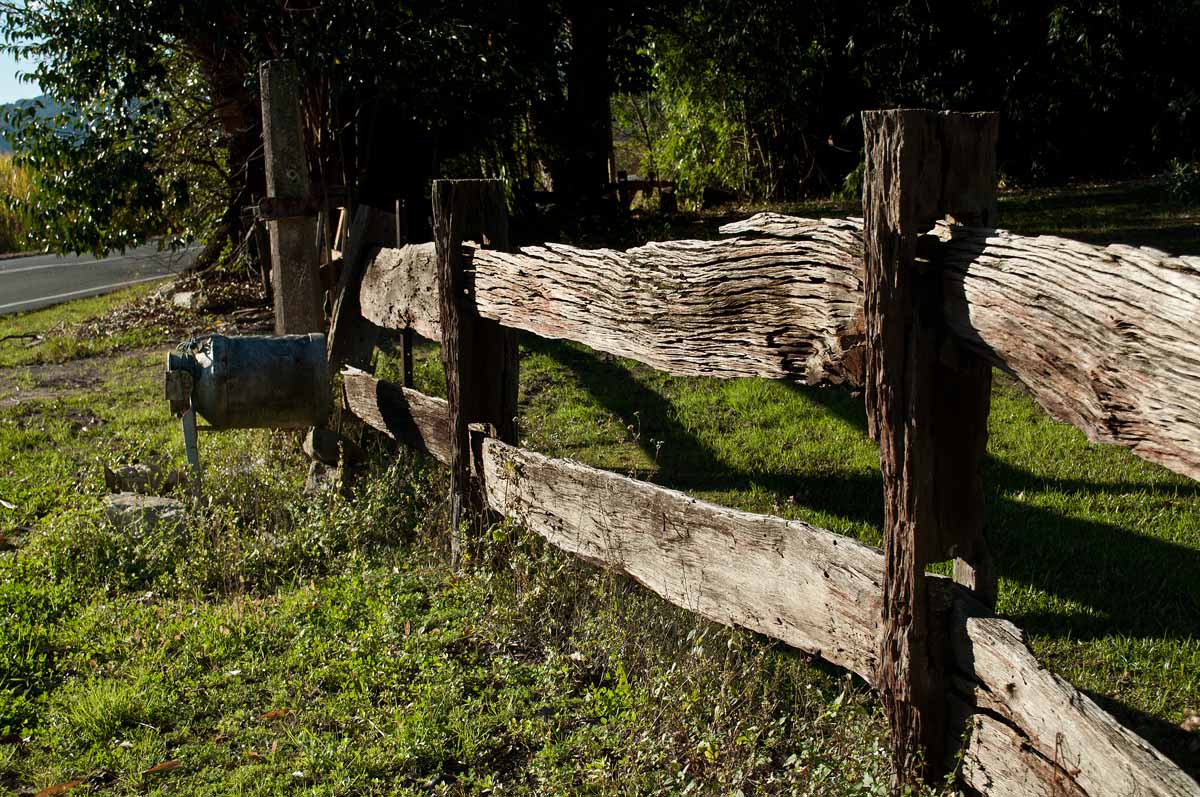
A typical fence made in the early days of Australia's white settlement was one made from native timbers and constructed without nails. The boundary fence to the property still stands as a testament to those difficult times and shows that there must have been a home here long before this two storey structure was put here.
The house still looks very imposing even though rust is showing through the paint of the iron lacework.
The garden is now overgrown and the white fence a bit the worse for wear but thanks to being able to zoom in on a photograph I can see that the original lace curtains still hang in the windows!
From the state of the lacework you can tell that it has been made of iron and not zinc or aluminium (as the lacework on my veranda is). This will be hand forged and most likely be worth a bit of money to someone who is restoring an old home somewhere!
It is a shame that once again this beautiful looking place is slipping back into a state of decay but the upkeep on a timber home is very high. There could be all sorts of reasons for it being left to rot.
I would not be at all surprised that the place is riddled with white ants and cursed with asbestos.
You can see it was once magnificent.
AJ
I have just found a story about Lisnagar Homestead and encourage you to follow this link to read more about it. This is an article written by a family member.

Sounds amazing

We occasionally get a visit from a kookaburra as it checks out the boundary to its territory. When it finds an intruder there is a little shouting for a while. I was able to record this snatch of the conversation.

The accompanying animation was created from seven photos (I copied the head and pasted on one picture) I have not discovered how to upload sound only to this blog so I have been forced to create a video. It does make the sound belong to something - so I guess making a video of the sound isn't such a bad thing!
The pity is that the picture is not correct for the sound - there were three kookaburras all sitting on this same branch and I spotted them from the house and managed to get the sound recorder out there but not the camera. When a Kookaburra calls, it points its beak upwards.
AJ

Monday, August 6, 2012

Coffee in the country

It was a perfect Sunday, plenty of warm sunshine and petrol in the car. So warm that most people drove to the beaches so Colin and I drove in the opposite direction and into the country. It was a good choice, there was barely a car on the road!
We stopped and purchased bananas and avocados from a grower and pulled over to take photos of the magnificent scenery and wasted our time in a manner we both enjoy.
 A canefield that has been harvested allowing a clear view across to Mt Warning. A mountain named by the explorer Captain Cook because he felt that it would serve as a warning to shipping about a reef that was off the coast of NSW.
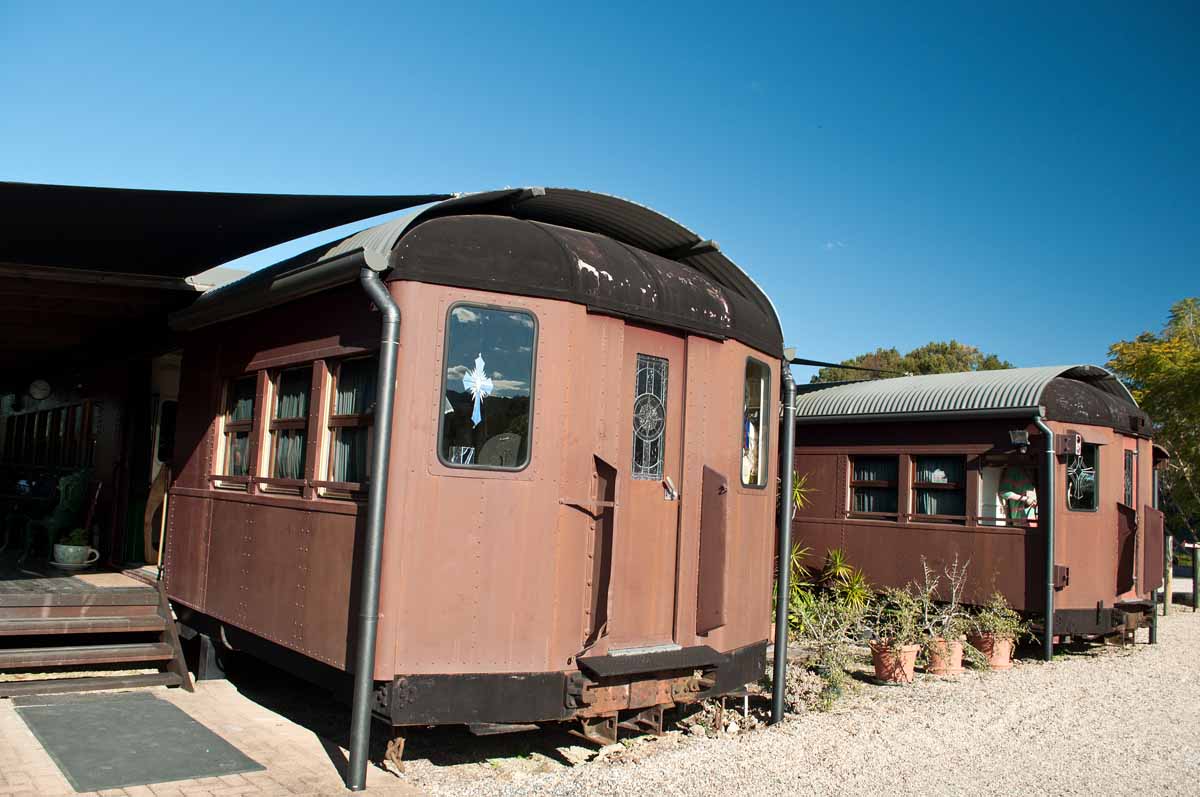
When we saw a couple of railway carriages through a gateway and a sign indicating that coffee and cake were available, we stopped
The Cafe cum craft gallery is called the "Red Rattler" however the red paint has faded in the weather and looks a little drab. We drove the car down the drive and parked in the huge carpark next to this signboard.
There was no chance of a rail motor passing since there were no rail tracks! The sign added to the fun atmosphere though.
I poked my head around the door of the first carriage - both were linked with a timber board floor and shade sales - and this carriage was filled with nick-knacks of every description. Paintings adorned the walls, stain glass light catchers hung from everywhere and if anything could be hand crafted and sold, it was here.
Being quite capable of creating my own craft and not wanting any more I moved on down to where we could order a coffee. While waiting for it to be made I poked my camera into the second carriage - this one had been set out as a dining room - there was even a piano (playable) in the guards compartment at the end!
We did enjoy our brief visit to the Red Rattler, the coffee was good, the staff happy and pleasant and the carriages fun to visit.
With plenty of memory still left in my SD card I was impatient to move on and find more subjects to aim the camera at!
AJ